Broth has been one of the latest health and wellness trends for a while now! However, many of the options we are seeing are ones you can purchase at the store in pure form or, in some cases, dehydrated! These broths are often sold for more than it would cost you for a takeaway lunch for a 500ml portion!! Crazy! We have broken down the steps to let you know how easy, cost-effective and sustainable it is to make broth at home! Think set it and forget it!
Now that we know how to save our food scraps, let’s put them to work!! Click here to check out our recent blog post on saving our scraps.
Making a weekly broth is now just a regular part of our daily lives, and it could be a part of yours very shortly. There are very few items required, and it takes minimal effort. The perfect recipe for a lazy day around the house.
Your Scraps at Work
You will need a ziplock bag full of scraps; this can be entirely vegetables, bones or a combination of both!
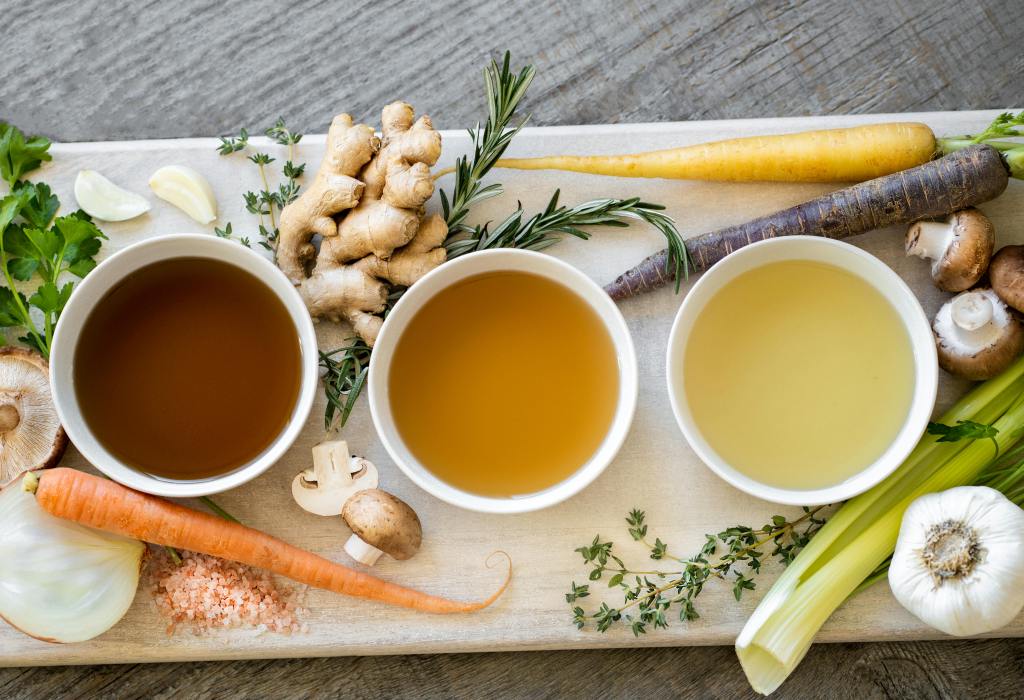
Depending on the flavours you wish to extract, you can select what you want to add to each broth.
Intense flavours like ginger or fennel you may like to save for when you wish to have them in your broth.
For example, if you are making a warming carrot ginger soup later in the week, why not add your ginger in now to add richness and depth to the flavour of your broth
What else do you need?
Next, you will need a large pot that is big enough to hold all of your scraps once completely covered in water.
If you are using bones, the best approach is to use bones that have been already cooked or roasted; for example, say, Monday night, you are having a roast chicken (or you picked up a rotisserie chicken). Once the meat has been removed, save the bones for making your broth at the end of the week.
The only additional ingredients are the seasonings you desire. If you plan on using the broth immediately for a recipe, add whatever would pair well with it. If you are going to freeze or store your broth for a later date, we suggest keeping it a bit more neutral so you can choose how you would like it to be later on.
Apple cider vinegar is essential when making bone broth as the acid helps draw out nutrients. We still add a splash to either broth!
Peppercorns also add a nice flavour; throwing 7-15 whole peppercorns is ideal.
A few pinches of salt also go a long way in a broth!
The Process
- Once everything is added to the pot, place it on the stove on high. We like to bring everything to a boil and then reduce the heat to a low simmer.
- At this point, you can keep the lid on the pot for a less concentrated broth or take it off for a more concentrated broth.
- Typically, the more concentrated it is, the more water you add to a recipe. Often, we utilise a combination of both. The first few hours with the lid on, the last few lids off.
- The length of time will change depending on whether you make stock with vegetables or bones.
- With vegetables, allow the broth to simmer for up to 4 hours.
- With bones, allow the broth to simmer for 6-12 hours.
- Once the time is up, let the broth cool, and then strain and package as you wish!

Quick List
- Large Pot
- Freezer Bag Full of Veggie & Bone Scraps
- Peppercorns
- Apple Cider Vinegar
- Accompaniments of your choice (herbs & spices)
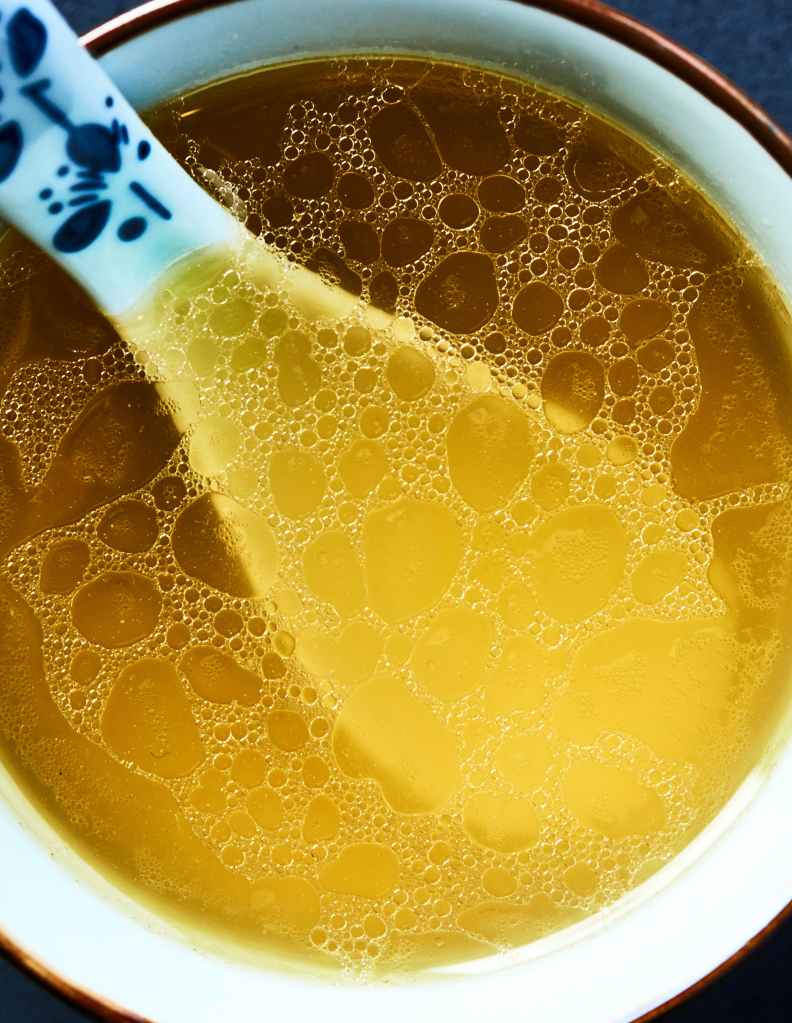
This nutritious liquid gold will make an excellent addition to your fridge or freezer, brighten your recipes, and reduce your plastic consumption and food waste!

Leave a reply to jrchaffe Cancel reply